![VIPWordmarkLight.jpg]](https://knowledge.vipmarketing.com/hs-fs/hubfs/VIPWordmarkLight.jpg?height=40&name=VIPWordmarkLight.jpg)
Follow the steps below to add our team to your Google Tag Manager account.
-
Step 1: Open Google Tag Manager
Go to Google Tag Manager and sign in to your Google account.
-
Step 2: Select Your Business
If you manage multiple accounts:
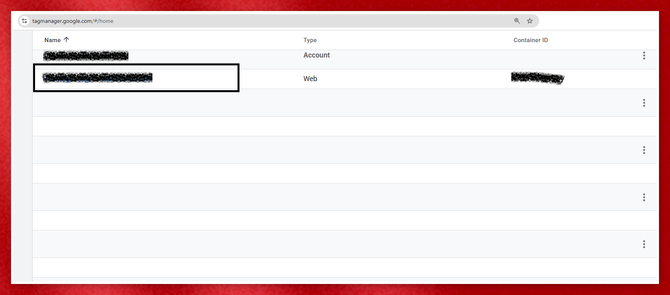
- Select the correct Google Tag Manager account.
- Select the correct container for your website.
- Confirm that the container is associated with the correct website.
-
Step 3: Open Admin
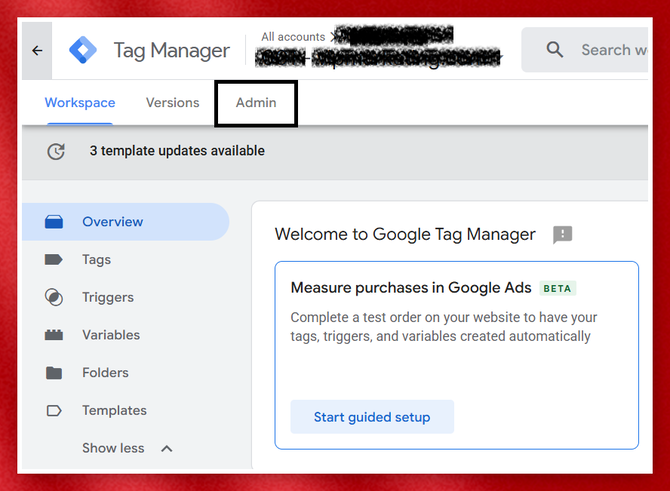
Click Admin in the top navigation.
-
Step 4: Open User Management
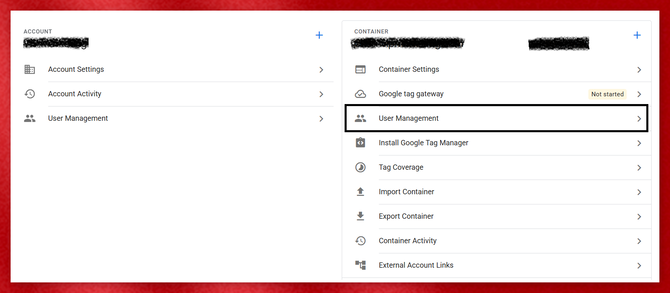
Under the Container section, click: User Management
This will show the users who currently have access to your Google Tag Manager account.
-
Step 5: Add VIP Marketing
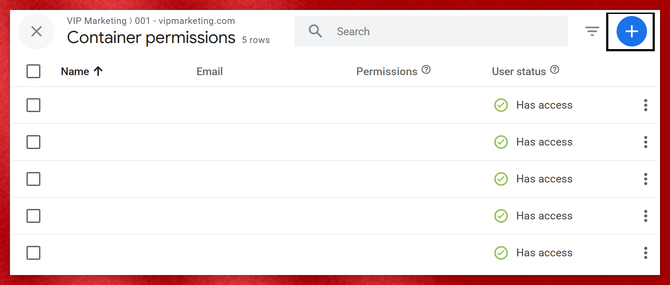
Click the + button in the upper-right corner and select: Add users
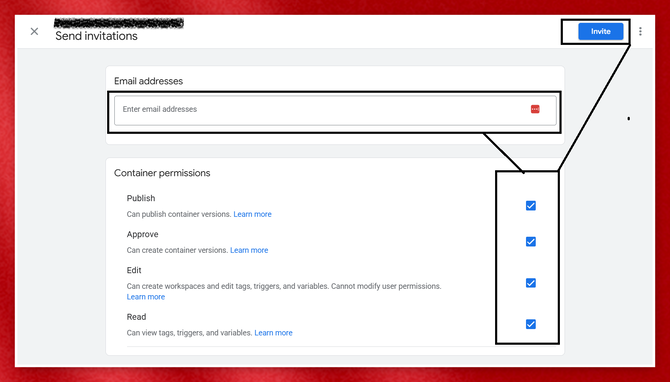
Enter the email address provided to you by your VIP Marketing team.
-
Step 6: Select the Permission
Select the access level requested by your VIP Marketing representative.
If our team needs to manage your website's tags and tracking, select the appropriate Container permissions requested by our team.
-
Step 7: Set Container Permissions
If requested, select the appropriate permissions for the website's container.
For ongoing tag management, our will need all permissions such as:
- Read
- Edit
- Approve
- Publish
-
Step 8: Add the User
After entering the email address and selecting the requested permissions:
- Review the access settings.
- Click Invite.
The invitation will be sent to the VIP Marketing team member.
-
Step 9: Confirm Access
Return to: Admin → User Management
Find the email address you added and confirm that the correct account and container permissions are shown.
Need Help?
If you are unsure which email address to use or have trouble granting access, please contact your VIP Marketing representative, and we will help you through the process.